Configuration in Alert
Configure ALERT Tunneler as a data server
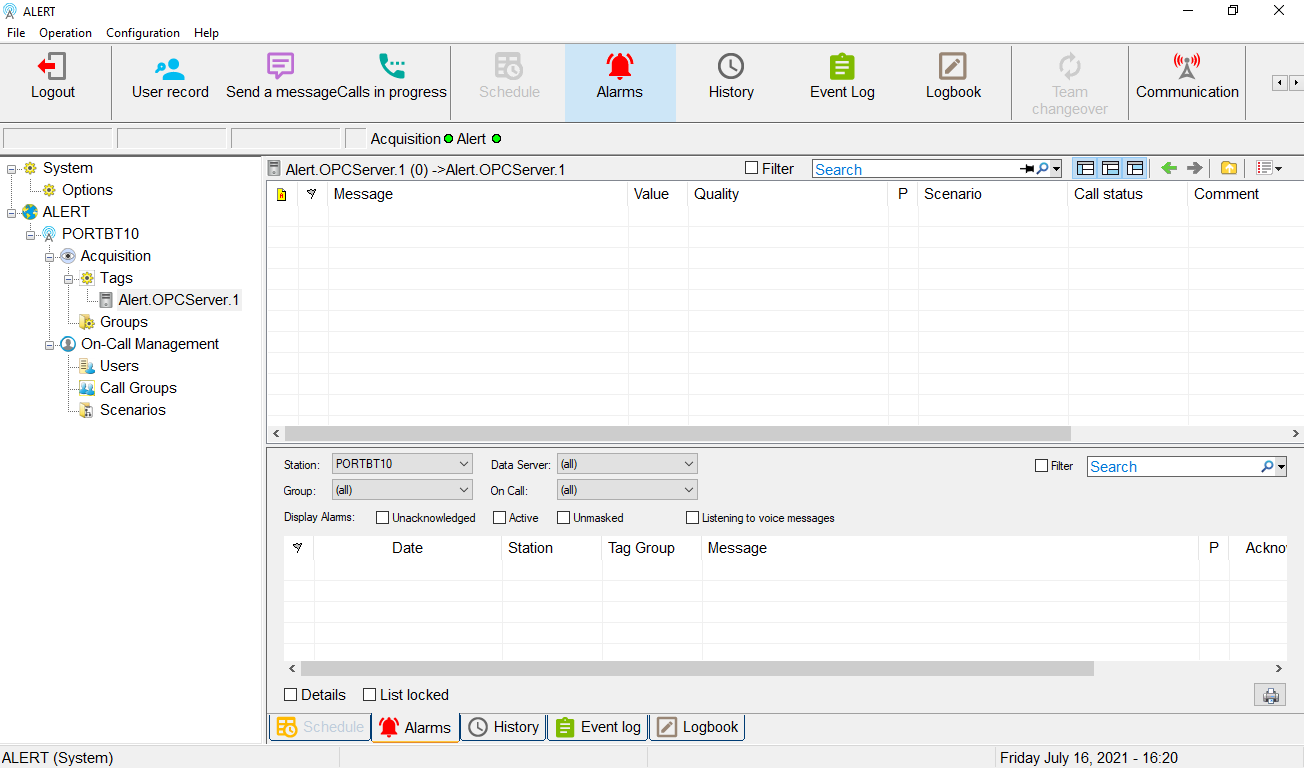
To establish communication with the 'ALERT Tunneler' module, you must declare a new data server.
Right-click on "Data Servers" and select "Add a Data Server...".
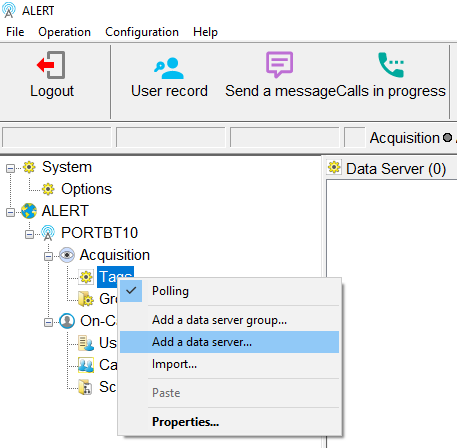
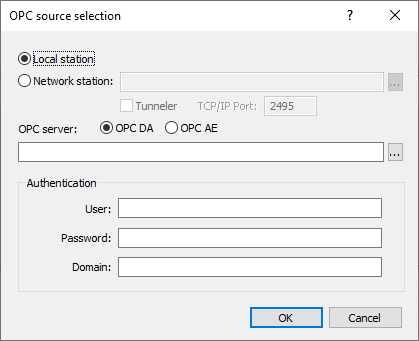
Configure the type to 'Generic OPC', then click the 'Source...' button.

Check the "Network Station" box and enter the IP address or name of your host PC with the 'ALERT Tunneler' module.
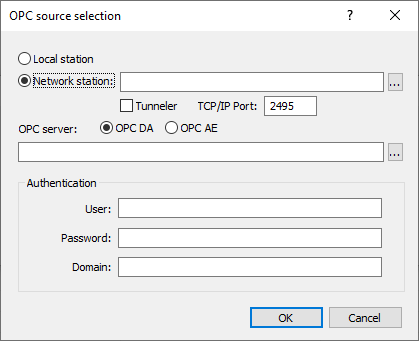
Check the "Tunneler" box and modify the "TCP/IP Port" field if needed.
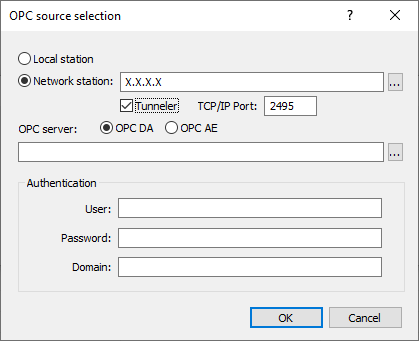
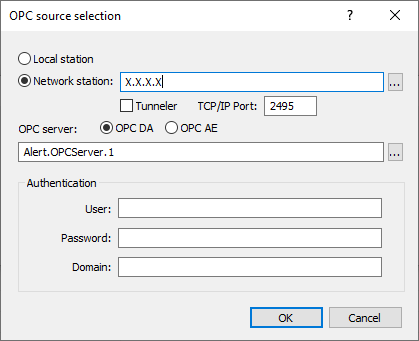
Select the OPC server type using the two boxes 'OPC DA' or 'OPC AE'.

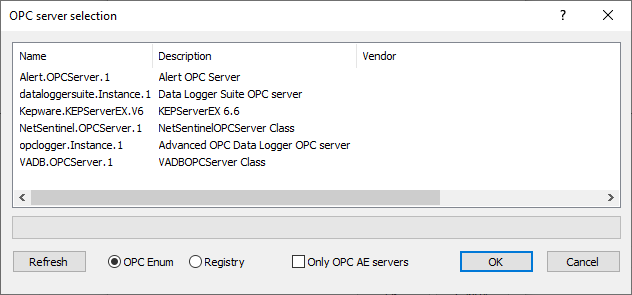
Click the "..." button to display the remote OPC servers list, select the desired server, then confirm with "OK".
Verification of communication
When the connection is successful, the module displays:
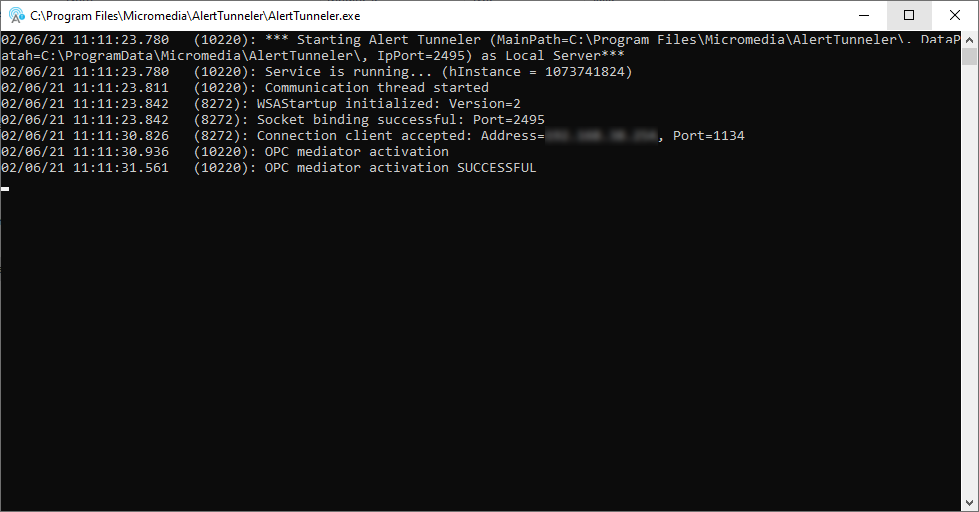
Connection client accepted: Address=X.X.X.X, Port=XXXX
OPC mediator activation SUCCESSFULL
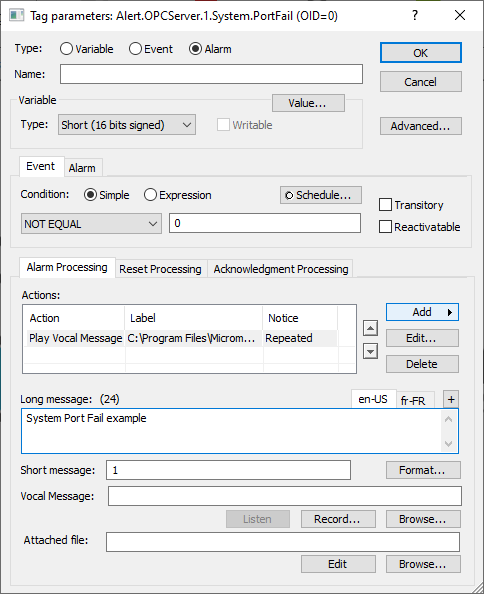
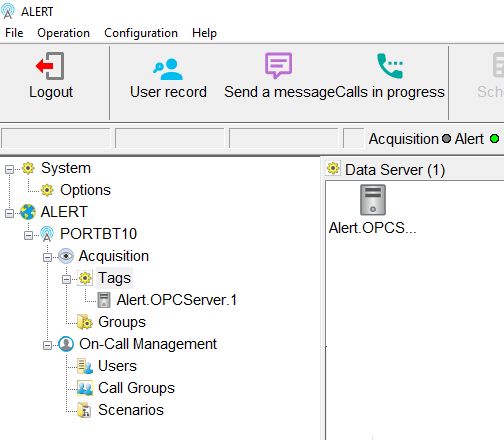
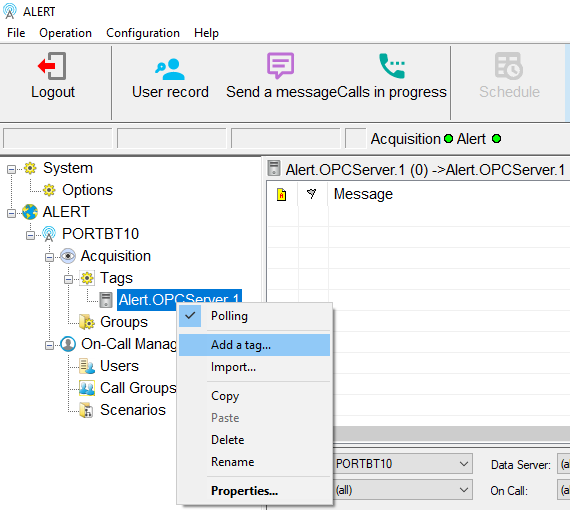
Add a tag from ALERT Tunneler
Select the data server, right-click and choose "Add a tag...".
Click the "..." button next to the "Data Path" field.

Navigate the tree to display the variables.
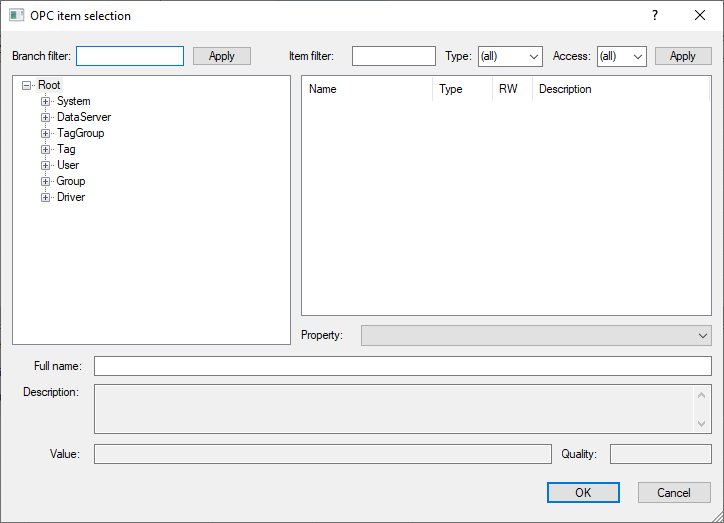
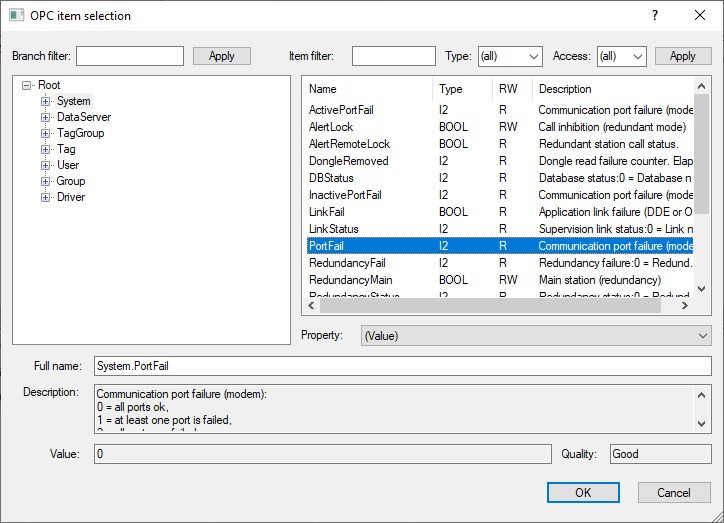
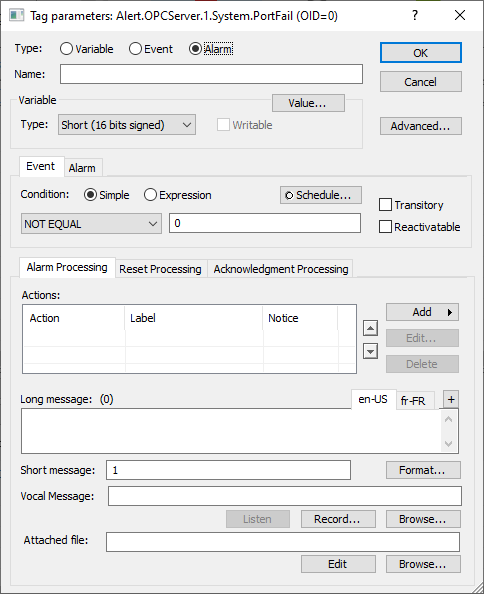
Select the desired variable and confirm.

Checking variable addition
Once the variable is added, the following connection messages are displayed:
Connecting to OPC DA server
Connected to OPC DA server